Working with columns in OpenRefine
- Kristen Wilson
- Former user (Deleted)
Adding or Renaming a column via the 'quick resolution' method
If any GOKb columns are missing the appropriate column name, OpenRefine will trigger either an 'Error' (where the column is required) or a 'Warning' (where the column is not required) which will offer renaming an existing column or appending a new column as a 'quick resolution'.
The only columns not covered by this mechanism are columns where there are potentially limitless variations on the column name (e.g. the 'custom fields' named with the pattern "gokb.{ti || tipp}.{field name}" or additional title.identifier columns beyond ISSN and eISSN)

Renaming a column manually
Click on the dropdown at the head of an existing column and choose "Edit column" -> "Rename this column". You will then be prompted to enter the new column name:
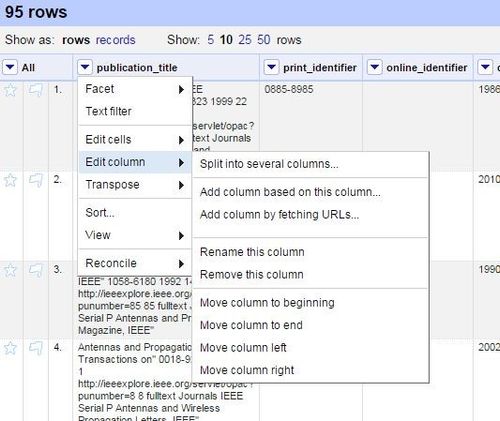
Adding a column manually
Refine does not have a simple 'add column' option - you always need to add a column based on an existing column, so if there is a requirement to add a column such as a 'custom field' column (i.e. one named using the "gokb.{ti || tipp}.{field name}" pattern) there are two ways of achieving this:
Use the 'Add column based on this column ...' function
Click on the dropdown at the head of an existing column and choose "Edit column" -> "Add column based on this column"
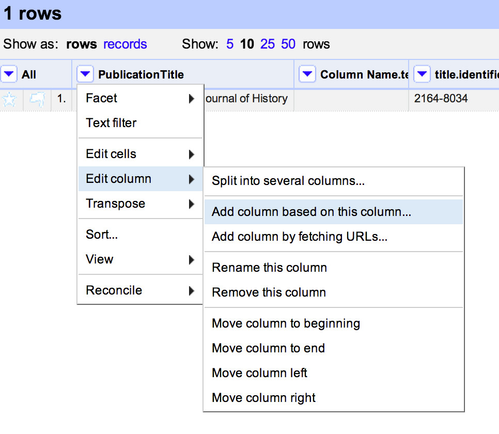
In the resulting screen add a column name, and either a value you want to use or just two inverted commas "" if you want the values to be left blank

Click 'OK' to create the column.
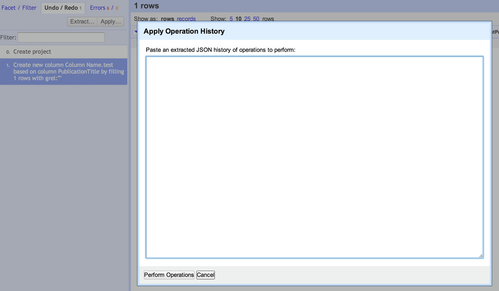
Cut and Paste
The other way to create a column with an appropriate name is to cut and paste code into Refine. First, locate the appropriate code on the macros page.
Then switch to the 'Undo / Redo' tab in the left-hand panel in Refine and click 'Apply ...' Paste your code into the window that opens and click 'Perform Operations.'
Clear the values in a column
Click on the dropdown at the top of the column you wish to clear. Choose "Edit cells"–>"Transform."
In the "Expression" text box, enter the word null.
Click "OK."
![]()
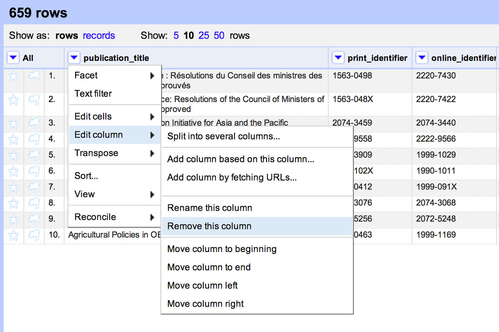
Remove a column
Click on the dropdown at the head of the column you wish to remove. Choose 'Edit column' -> 'Remove this column'
Remove multiple columns
To remove multiple columns at once, click on the 'All' drop down at the head of the first column in the project. Choose 'Edit columns' > 'Re-order / remove columns ...'. You will then see a 'drag and drop' interface with all columns listed on the lefthand side. You can remove columns by dragging the column name from the left to the right of this screen, then clicking 'OK'
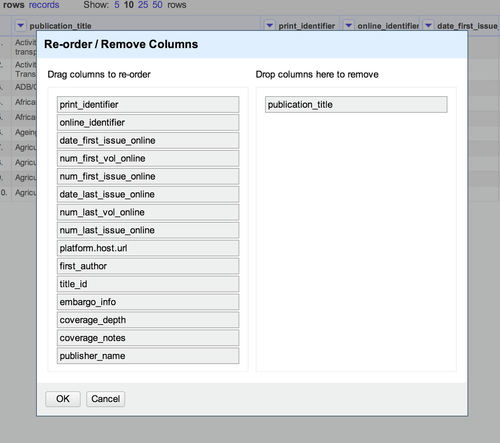
You can also re-order columns from this screen by dragging and dropping the column names in the lefthand column.
Related content
Operated as a Community Resource by the Open Library Foundation